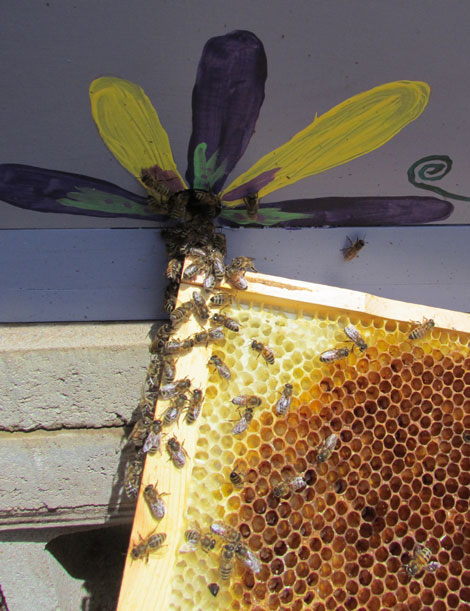
There has been a lot of attention on ways to reduce plastic use everywhere; including in the home. Storing food in plastic seems like a great place to rethink plastic use. Beeswax wrap covers are getting a lot of promotion as a solution to food storage and I decided it was time to give them a try.
This is a natural exploration/solution as;
- We have lots of beeswax
- Clothing is one of the biggest waste streams in the US
- How hard is it to cut up some fabric and add bees wax?
So off to the Goodwill to select some appealing all-cotton textiles that could be cut down in various sizes for the wraps. The men’s section offered the best selection for XL sizes (more cloth), all cotton, and no “Pink Tax”. If you are not familiar with the term, generally any women’s clothing will automatically be more expensive than a similar item in the men’s department. Sadly, it is no different at the Goodwill.
All cotton pillow cases proved to be another good source for lots of fabric for a few dollars, and, there were some prints that worked well with the checkered shirt. All in all – 2 pillow cases for $3.99 and one shirt for $4.99 – about $9 for several yards of all cotton fabric. Not bad given that most all-cotton fabric with interesting prints is about $8.99 a yard at a minimum these days.
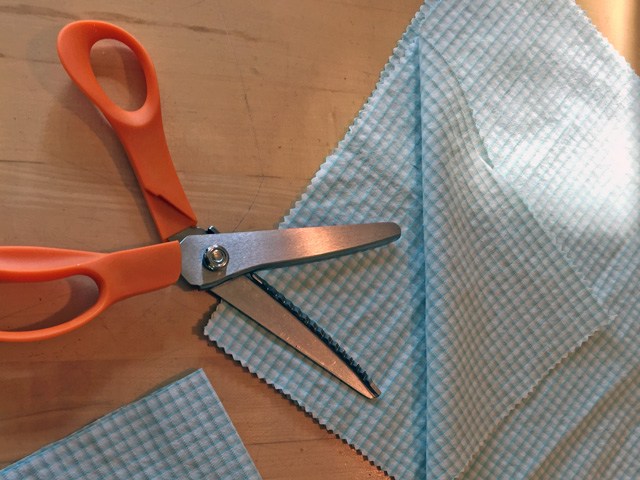
The next step was deciding what sizes would be most useful as wraps and to plan out the maximum number of wraps from the short sleeved shirt and the pillowcases. I ended up with about 15 wraps of various sizes and proportions. Although a large wrap would have been nice for a loaf of bread – the oven sheet pans turned out to be the final limit on maximum wrap size.
An aggressive internet search for an exact recipe for the wax wraps proved to be frustrating. The basic concept is that grated bees wax and an oil are added together and melted in the oven at the lowest temperature. Bees wax is flammable and an over hot oven could be a disaster so keep it cool.
The instructions I followed were way too oily and the wraps did not stick to vessels very well. No problem – the fabric wraps were reheated with more wax to make a better consistency. Further research showed that some recipes added pine pitch to the mix to make a crisper seal, but no specific ratios were found online. This is an experiment I mean to revisit soon adding pitch to the mix.
One recipe said to use a cheese grater to grate the beeswax if using a non-pelleted wax. Well, this was way too much labor and overworked the old hands. A double boiler was used to melt big chunks of wax and to mix with the coconut oil.
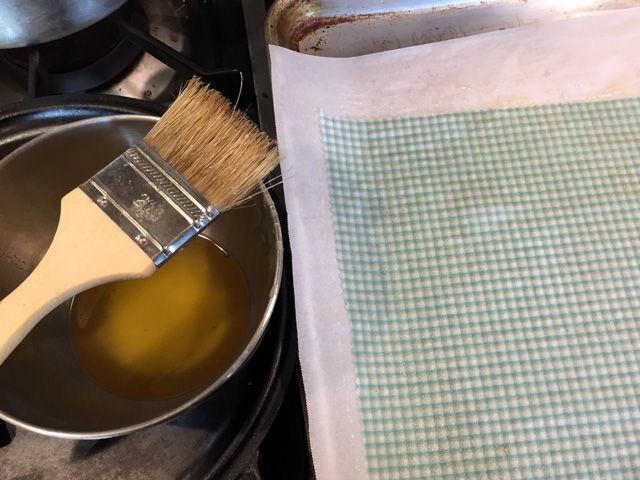
Using a utility paint brush, the melted wax/oil wax was smoothed across the fabric on a cookie sheet lined with a paper baking sheet. It was not necessary to cover every edge of the fabric as the heat of the oven melted and saturated the wax/oil quite thoroughly. The fabric was stacked in several layers with wax applied to each wrap.
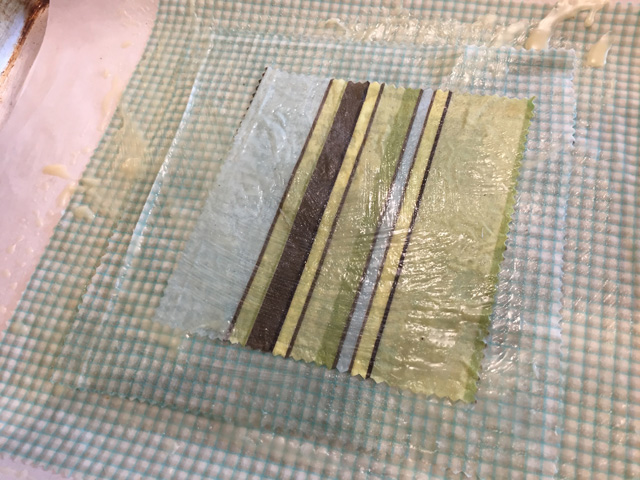
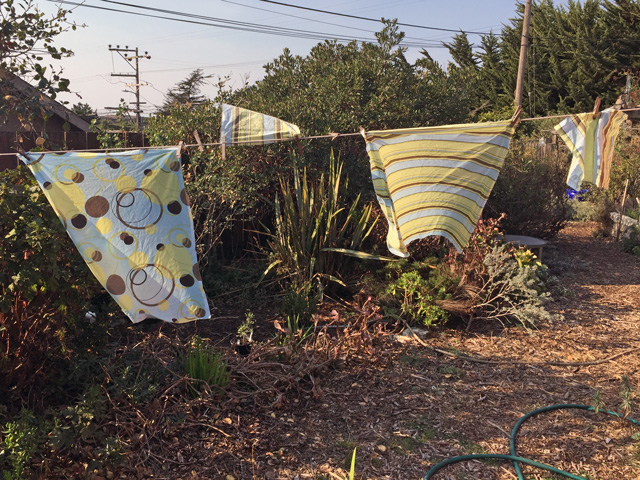
When the saturation looked good in the oven each wrap was lifted out to separate and then hung on the line to cool. The wraps cool fairly quickly just from taking out of the oven. If there were any lumps from cooling too quickly, they got another turn in the oven.
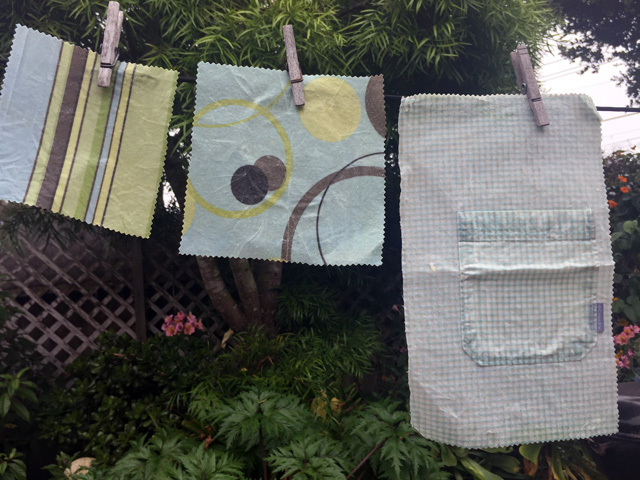
So, overall this was a good project but the recipe I used needs more work and is not good enough to endorse and pass on. The consistency of the wax/oil would not stick to itself or a vessel and left a residue on steel and glass. We ended up using a produce rubber band or string to hold shut for traveling sandwiches. This wrap was a great solution for cheese as it kept it from drying out and the antibiotic nature of the wax seemed to minimize mold formation (except on wet mozzarella). A warm rinse after use kept the wraps clean enough for our needs.
A next generation experiment will incorporate the pitch and use a food grade walnut oil (it does not go rancid). Perhaps a solid proven recipe will be posted to the website soon.


